Introduction
Webflow templates are pre-designed, fully functional website starting points that dramatically accelerate the web design process. Instead of building every element from scratch, templates provide professionally crafted foundations you can customize to match your brand and content.
Templates are particularly valuable for designers and businesses wanting high-quality websites without the time investment of complete custom design. A template that might take weeks to design from scratch becomes a customizable starting point you can adapt in hours.
This comprehensive guide walks you through everything you need to know about using Webflow templates effectively—from finding the perfect template to customizing it for your unique needs and publishing your finished site. Whether you're a Webflow beginner leveraging templates to learn the platform or an experienced designer accelerating client projects, understanding how to work efficiently with templates is essential.
You'll learn how to browse and select templates, install them into your Webflow account, customize every aspect from colors to content, and publish your finished website with confidence. By the end, you'll have the knowledge to transform any Webflow template into a unique, professional website.
Understanding Webflow Templates
Webflow templates are complete website designs built by professional designers and made available for purchase or free use. Unlike simple page layouts, templates include fully designed pages, interactions, responsive breakpoints, and often CMS collections.
What Templates Include
A typical Webflow template provides:
- Multiple pre-designed pages (homepage, about, services, contact, blog, etc.)
- Responsive layouts optimized for desktop, tablet, and mobile
- Interactions and animations adding polish and engagement
- CMS collections for blogs, portfolios, team members, or products
- Reusable components like navigation, footers, and forms
- Style guide with colors, typography, and spacing systems
- Symbol instances for globally editable elements
Types of Templates Available
Webflow's marketplace offers templates across categories:
- Business websites for agencies, consultancies, and professional services
- Portfolio sites for designers, photographers, and creatives
- E-commerce stores with product pages and checkout flows
- Landing pages for marketing campaigns and product launches
- Blog templates with article layouts and content structures
- SaaS websites for software and digital products
Template vs Starting from Scratch
Templates offer significant advantages:
Speed: Launch in days instead of weeksProfessional design: Benefit from expert designers' workLearning tool: Study well-built sites to improve your skillsCost-effective: Cheaper than custom designProven layouts: Use tested, conversion-optimized structures
However, starting from scratch provides complete creative control and unique designs not constrained by template structures.
Finding the Right Template
Selecting the right template is crucial—it should align with your industry, aesthetic preferences, and functional requirements.
Browsing the Template Marketplace
- Visit webflow.com/templates to access the marketplace
- Browse featured templates or use category filters
- Use the search bar for specific styles or industries
- Filter by free vs paid templates
- Preview templates with live demos
Evaluating Template Quality
When evaluating templates, consider:
- Design aesthetics: Does the style match your brand vision?
- Page variety: Does it include all pages you need?
- CMS structure: Are collections relevant to your content?
- Responsiveness: How well does it adapt to mobile?
- Interaction quality: Are animations smooth and purposeful?
- Customization potential: How easy will modifications be?
- Reviews and ratings: What do other users say?
Free vs Paid Templates
Free templates are excellent for:
- Learning Webflow
- Testing ideas
- Simple projects with limited budgets
Paid templates ($49-299) typically offer:
- More sophisticated designs
- Better CMS structures
- Higher-quality interactions
- More page varieties
- Professional support
Choose based on project requirements and budget. Free templates can produce professional results, while paid templates often save customization time.
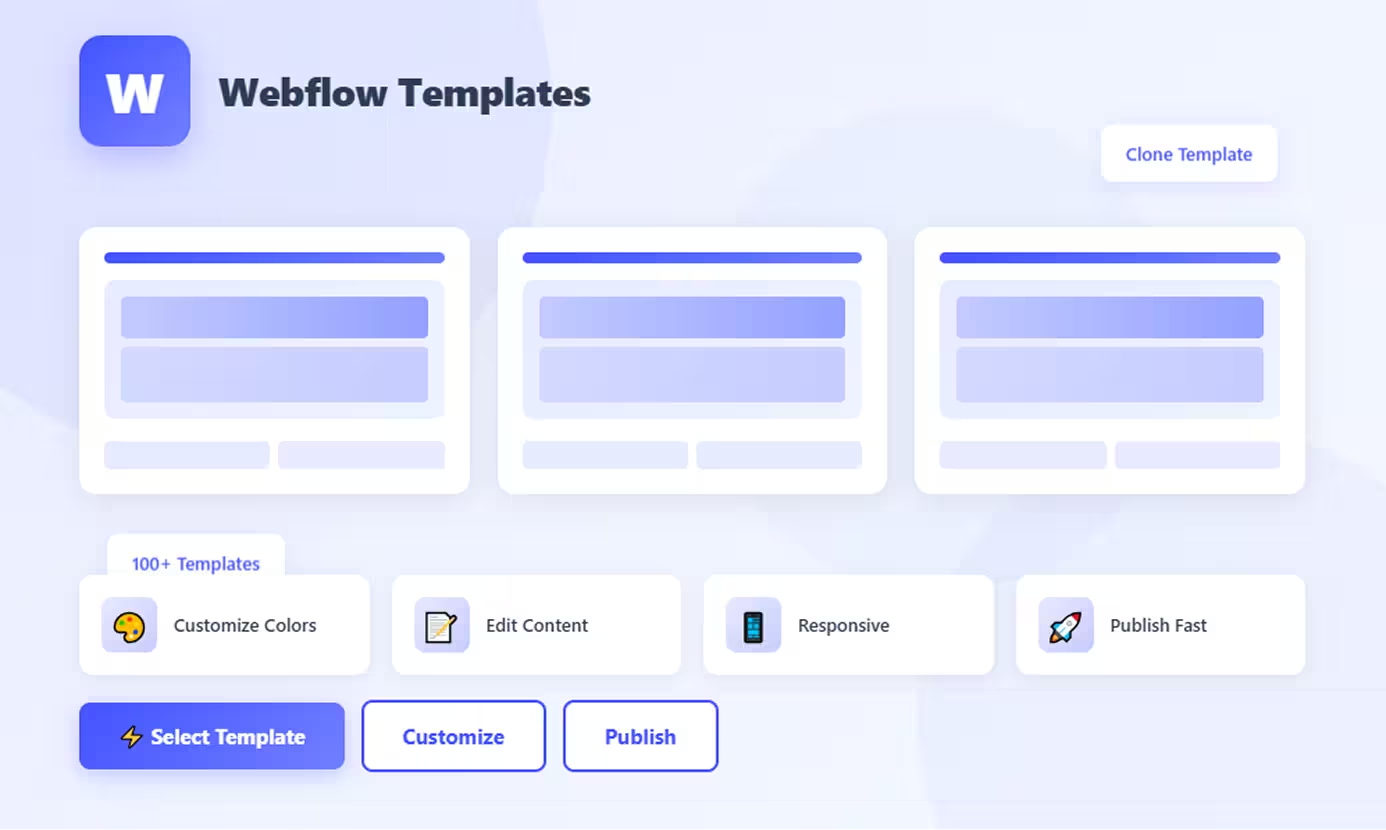
Installing a Webflow Template
Once you've selected your template, installation is straightforward but requires understanding a few key steps.
Step-by-Step Installation
Step 1: Purchase or Select Template
- Click "Clone" for free templates or "Purchase" for paid options
- Complete payment if purchasing
- Template becomes available in your Webflow dashboard
Step 2: Access Your Dashboard
- Log into your Webflow account
- Navigate to your Dashboard
- Find the template under "Projects" or the specific site
Step 3: Open the Template
- Click on the template project
- The Webflow Designer opens with the full template
- Take time to explore the structure before making changes
Understanding Template Structure
When you open a template, familiarize yourself with:
Pages Panel: See all included pages (homepage, about, contact, etc.)Navigator: Understand the HTML structure and element hierarchyCMS Collections: Review what content types are pre-builtSymbols: Identify reusable components like headers and footersStyle Guide: Find the template's color swatches and text styles
Pro tip: Before customizing, click through every page in preview mode to understand what you're working with. Note pages you'll keep, modify, or delete.
Customizing Your Template
Customization transforms a generic template into your unique website. Webflow's visual editor makes this process intuitive while maintaining design quality.
Changing Colors and Fonts
Updating Colors Globally:
- Click any element using a template color
- In the Style panel, find the color swatch
- Click the swatch to open the color picker
- Notice if it uses a global color variable
- Edit the global swatch to update everywhere automatically
- Repeat for all brand colors
Changing Typography:
- Select text elements throughout the site
- Check if they use global text styles (Body, Heading 1, etc.)
- Update global styles in the Style panel to change all instances
- Change fonts in Project Settings > Fonts
- Map new fonts to global text styles
Replacing Images and Content
Swapping Images:
- Select image elements in the Designer
- Click the image settings in the Style panel
- Choose "Replace image" and upload your content
- Adjust image settings (fit, position) as needed
- For CMS images, update through the CMS Collections panel
Updating Text Content:
- Double-click any text to enter edit mode
- Replace placeholder text with your content
- For CMS content, edit in CMS Collections
- Maintain formatting by preserving text styles
- Keep similar content lengths to maintain layout integrity
Modifying Layouts and Sections
Adjusting Sections:
- Use the Navigator to understand section structure
- Select parent containers to modify entire sections
- Adjust padding, margins, and spacing in the Style panel
- Change flexbox or grid settings for layout modifications
- Delete unwanted sections by selecting and pressing Delete
Adding New Sections:
- Copy existing sections as starting points (⌘/Ctrl + C, ⌘/Ctrl + V)
- Modify the duplicated section for your needs
- Or add new div blocks and build custom sections
- Maintain consistency by using template's spacing and styles
Adding/Removing Pages
Adding Pages:
- Click the Pages panel (page icon in top left)
- Click "+" to create a new page
- Choose "Blank Page" or duplicate an existing page
- Design the page or copy sections from other pages
- Add the page to navigation menus
Removing Pages:
- Open the Pages panel
- Click the settings icon next to the page
- Select "Delete"
- Remove links to deleted pages from navigation
Customizing the CMS
Modifying Collections:
- Open CMS Collections panel
- Click into existing collections (Blog Posts, Projects, etc.)
- Add, remove, or modify fields to match your content
- Update field types (text, image, rich text, reference)
- Populate with your actual content
Connecting CMS to Pages:
- Ensure collection pages use proper collection templates
- Bind dynamic content using the Settings panel (purple icon)
- Connect text, images, and fields to CMS data
- Test by creating sample CMS items
Updating Styles Globally
Using Classes Effectively:
- Understand the template's class naming system
- Modify existing classes rather than creating new ones
- Use combo classes for variations
- Update classes in one place to affect all instances
Maintaining Design Systems:
- Keep the template's spacing scales (8px, 16px, 24px, etc.)
- Stick to the established color palette
- Preserve typography hierarchy
- Maintain button styles and interactive elements
Best Practices
Following best practices ensures your customized template remains professional, performant, and maintainable.
Planning Before Customizing
- Audit the template: Document all pages, sections, and features
- Map your content: Know what content goes where before editing
- Define your brand: Have colors, fonts, and images ready
- Create a checklist: Track customizations systematically
Maintaining Design Consistency
- Preserve the design system: Don't add random colors or fonts
- Keep spacing consistent: Use the template's rhythm
- Maintain style hierarchy: Don't create conflicting text styles
- Test across pages: Ensure changes work site-wide
Testing Responsiveness
- Check all breakpoints: Desktop, tablet, mobile, and landscape mobile
- Test interactions: Ensure animations work on all devices
- Verify navigation: Mobile menus should be fully functional
- Review CMS layouts: Dynamic content should be responsive
Common Mistakes to Avoid
- Over-customizing: Changing too much defeats the template's purpose
- Breaking the grid: Maintain alignment and spacing systems
- Ignoring mobile: Always design mobile-responsive
- Deleting symbols: Understand symbol instances before removing
- Skipping backups: Duplicate your project before major changes
Publishing Your Template
Once customized, publishing makes your website live on the internet.
Final Checks Before Publishing
- Review all pages: Check for placeholder text or images
- Test all links: Ensure navigation and buttons work
- Verify forms: Test contact forms and submissions
- Check SEO settings: Add meta titles, descriptions, and OG images
- Preview responsiveness: Test on actual devices if possible
- Spell check: Review all content for errors
Connecting Your Domain
- Go to Project Settings > Publishing
- Add your custom domain
- Follow DNS configuration instructions
- Wait for DNS propagation (up to 48 hours)
Publishing Process
- Click "Publish" in the top right
- Choose your domain (staging or custom)
- Webflow builds and deploys your site
- Site goes live automatically
- Share your new website!
Conclusion
Webflow templates provide a powerful foundation for creating professional websites efficiently. By understanding how to select, customize, and publish templates effectively, you can deliver high-quality sites in a fraction of the time required for custom builds.
The key to success with templates is balancing customization with the template's existing design system. Preserve what works—the layout, spacing, and professional polish—while adapting colors, content, and branding to make it uniquely yours.
Remember that templates are learning tools as much as productivity tools. Study how professional designers structure sites, use classes, and build responsive layouts. Each template you work with teaches valuable techniques you can apply to future projects.
Start by selecting a template that aligns closely with your needs, customize systematically using the techniques covered here, and don't be afraid to experiment. Webflow's visual editor makes exploration safe and reversible.
Your journey from template selection to published website can take just days. Embrace templates as a smart, efficient approach to web design that delivers professional results without starting from zero every time.
FAQs
Q: Can I use a Webflow template on multiple websites?
A: Free templates can be cloned unlimited times for your own projects. Paid templates typically include a license for single-use only. For multiple client sites, purchase additional licenses or choose templates with extended licenses. Always check the specific template's licensing terms.
Q: Will my website look exactly like the template demo?
A: Only if you don't customize it. The template provides structure and design, but you should replace all content, images, colors, and fonts to match your brand. A well-customized template becomes unique and unrecognizable from the original.
Q: Can I edit the template's code?
A: Webflow templates are visual—no coding required. However, you can add custom code through embed elements or the project's custom code settings. You cannot export and edit the underlying code unless you have a paid Webflow plan with code export enabled.
Q: What if I break something while customizing?
A: Use Webflow's backup feature by duplicating your project before major changes. The undo feature (⌘/Ctrl + Z) works for recent changes. If you break styling, you can reset specific elements by removing classes and reapplying them. Webflow also maintains version history for certain actions.
Q: How do I get support if I'm stuck with a template?
A: Free templates generally don't include support. Paid templates often include email support from the creator. Use Webflow's official forums, Webflow University tutorials, and community Discord for general help. YouTube has extensive Webflow template customization tutorials for visual learners.